Introduction
System Requirements
Installation Process
Initial Setup and Authentication
Verifi is an AI-productivity tool for accounting professionals. Verifi lives inside of your e-conomic and helps with Quality Control without disrupting your existing workflow.
Key Benefits:
Automated financial reconciliation
Task creation and assignment
Real-time data visibility
Collaborative workflow management
Browser Compatibility:
Google Chrome (recommended)
Microsoft Edge
Other Chromium-based browsers
ERP System:
Active e-conomic account with valid credentials
Account:
Valid company email address for Verifi account creation
Option to use Google or Microsoft Single Sign On
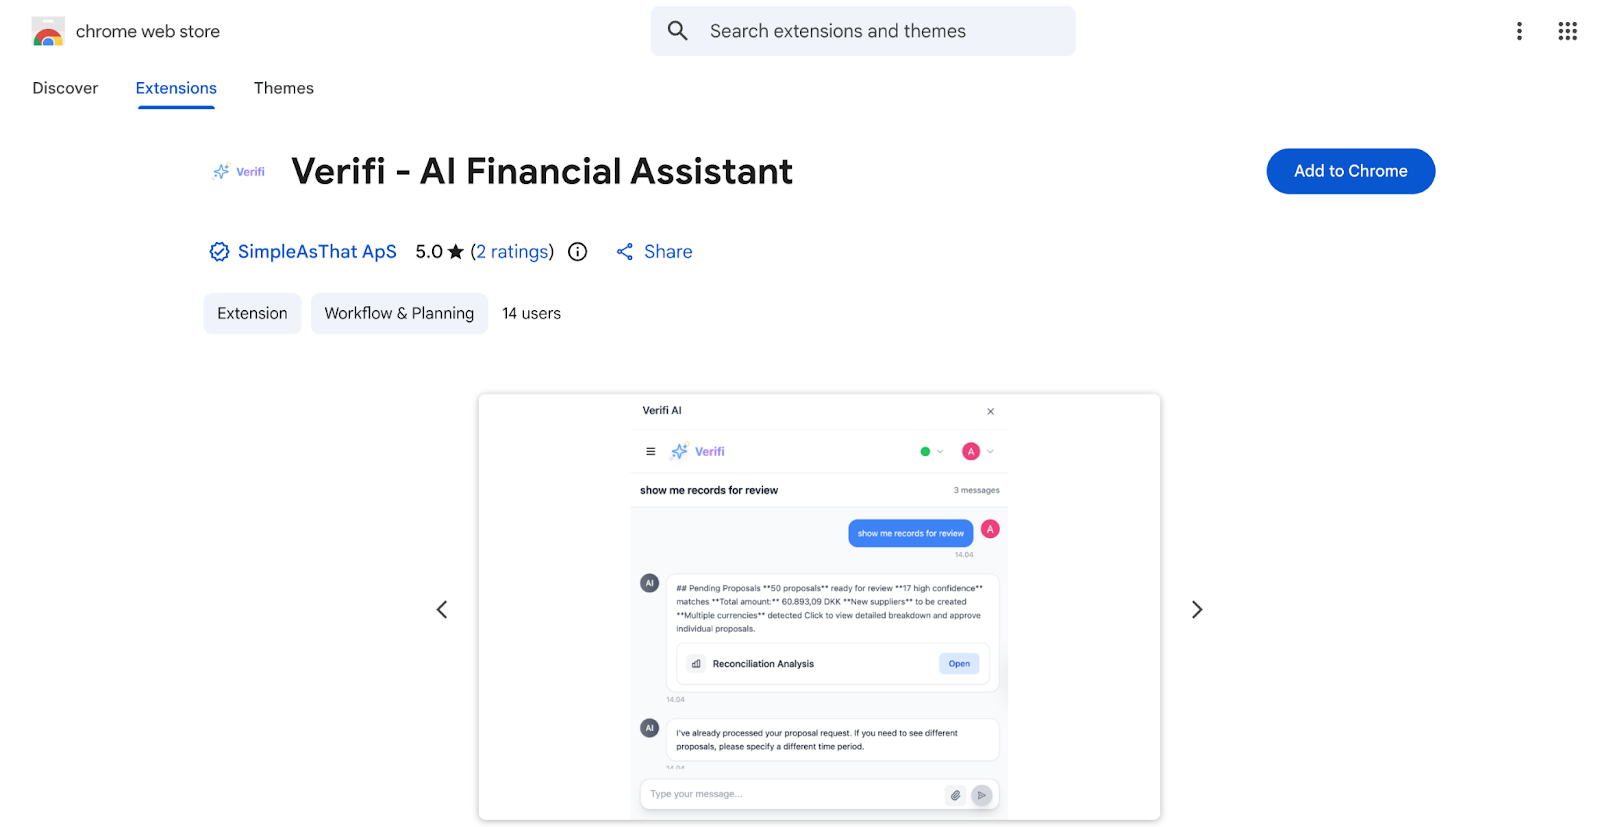
Navigate to the Chrome Web Store
Search for "Verifi - AI Financial Assistant" or use the direct link provided by your administrator
Click the blue "Add to Chrome" button
After installation, pin Verifi to your browser toolbar for easy access:
Click the puzzle piece icon in your browser toolbar (Extensions menu)
Locate "Verifi - AI Financial Assistant" in the list
Click the pin icon next to Verifi
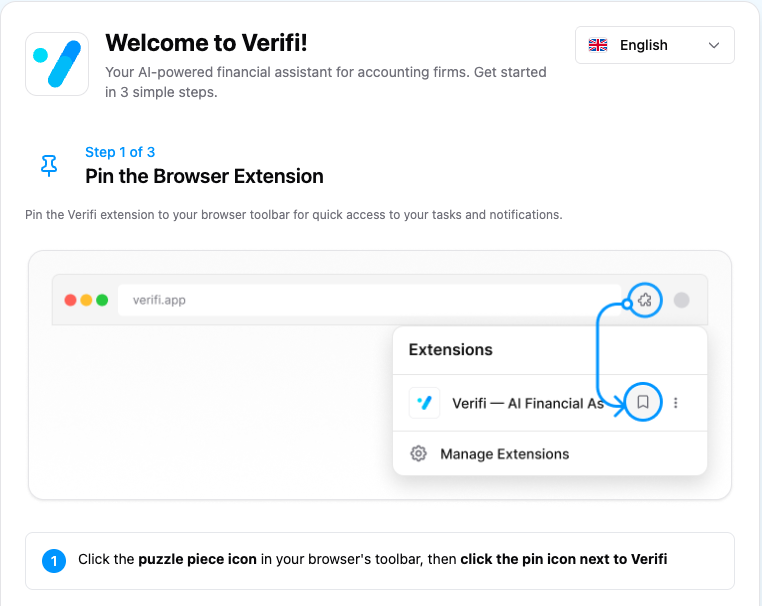
It should look like this when you’re done:

You will need to sign into two places. 1: in Verifi inside of e-conomic and 2. In your extension browser
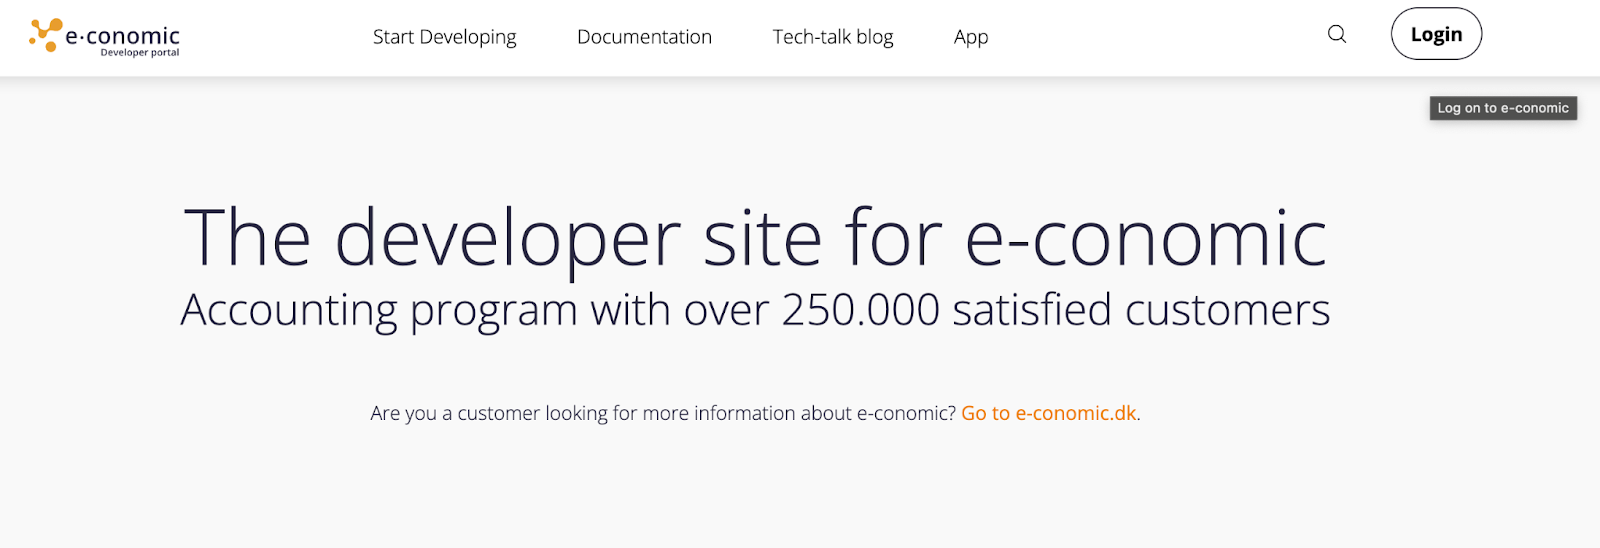
Navigate to your e-conomic portal at e-conomic.com
Log in with your e-conomic details
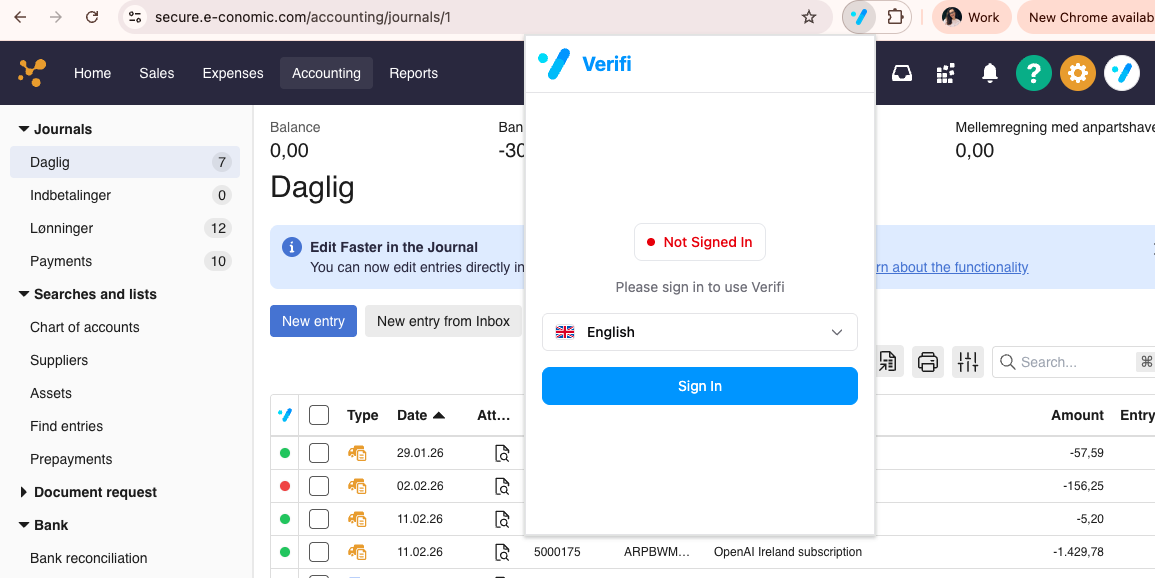
You will have the option for Single Sign On with your work email address. Click on the white V button next to the settings orange button and the side bar will open.
Click "Continue with Google" to use your Google account
Click "Continue with Microsoft" to use your Microsoft account
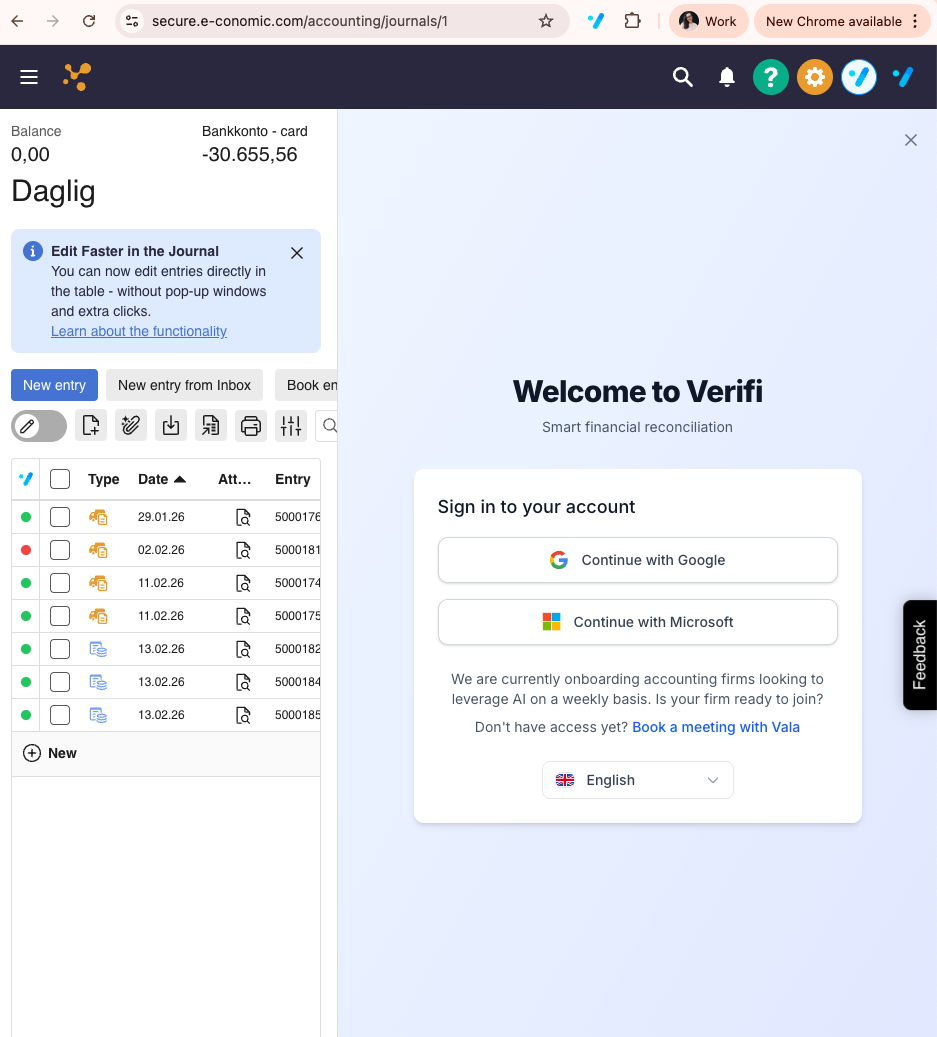
Once logged into e-conomic and Verifi inside of e-conomic, click the Verifi icon in your browser toolbar and sign in with your work email address.
Verifi inside of e-conomic should look like this after signing in:
Make sure your extension looks like this:
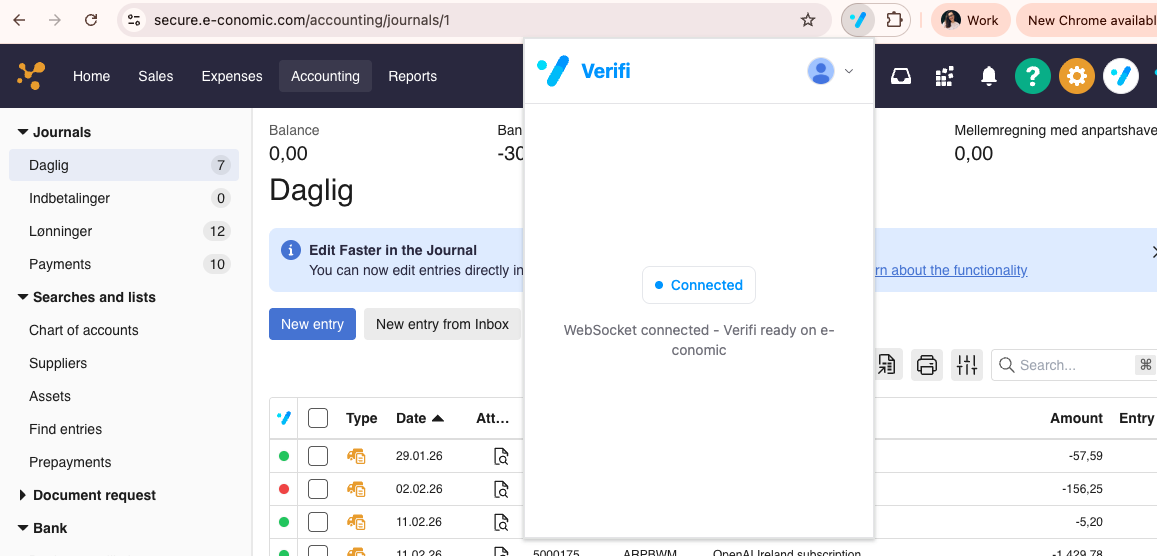
You are now signed in to Verifi and ready to start using it as a part of your daily workflow!
