Introduction
Before You Start
Opening Balance Sheet Reconciliation
Running the Reconciliation
Reviewing Findings
Attaching Supporting Documents
Adding Notes and Reminders
Resolving and Exporting
Balance Sheet Reconciliation (BSR) in Verifi automatically ties out your balance sheet accounts against supporting evidence and flags discrepancies using a traffic-light severity system. It runs inside e-conomic so you can reconcile without leaving your close workflow.
Key Benefits:
Automated tie-outs across balance sheet accounts
Traffic-light severity (red, orange, green) to prioritise what matters
Drag-and-drop supporting documents directly onto accounts
Findings and evidence in one place
Faster, more confident month-end close
Make sure the following are in place:
You are signed in to Verifi inside of e-conomic (see Onboarding to Verifi)
You have access to the e-conomic agreement you want to reconcile
Balance Sheet Reconciliation is active on the agreement you have selected. If it's not, the BSR tab will not appear in the Verifi sidebar. Contact your Verifi administrator or reach out to support to have it enabled for your user.
Supporting documents (bank statements, salary slips, tax statements, sub-ledgers, schedules) are ready to attach saved locally on your computer
Note: BSR will use the period range you have selected in e-conomic and will automatically include non-booked entries as well.
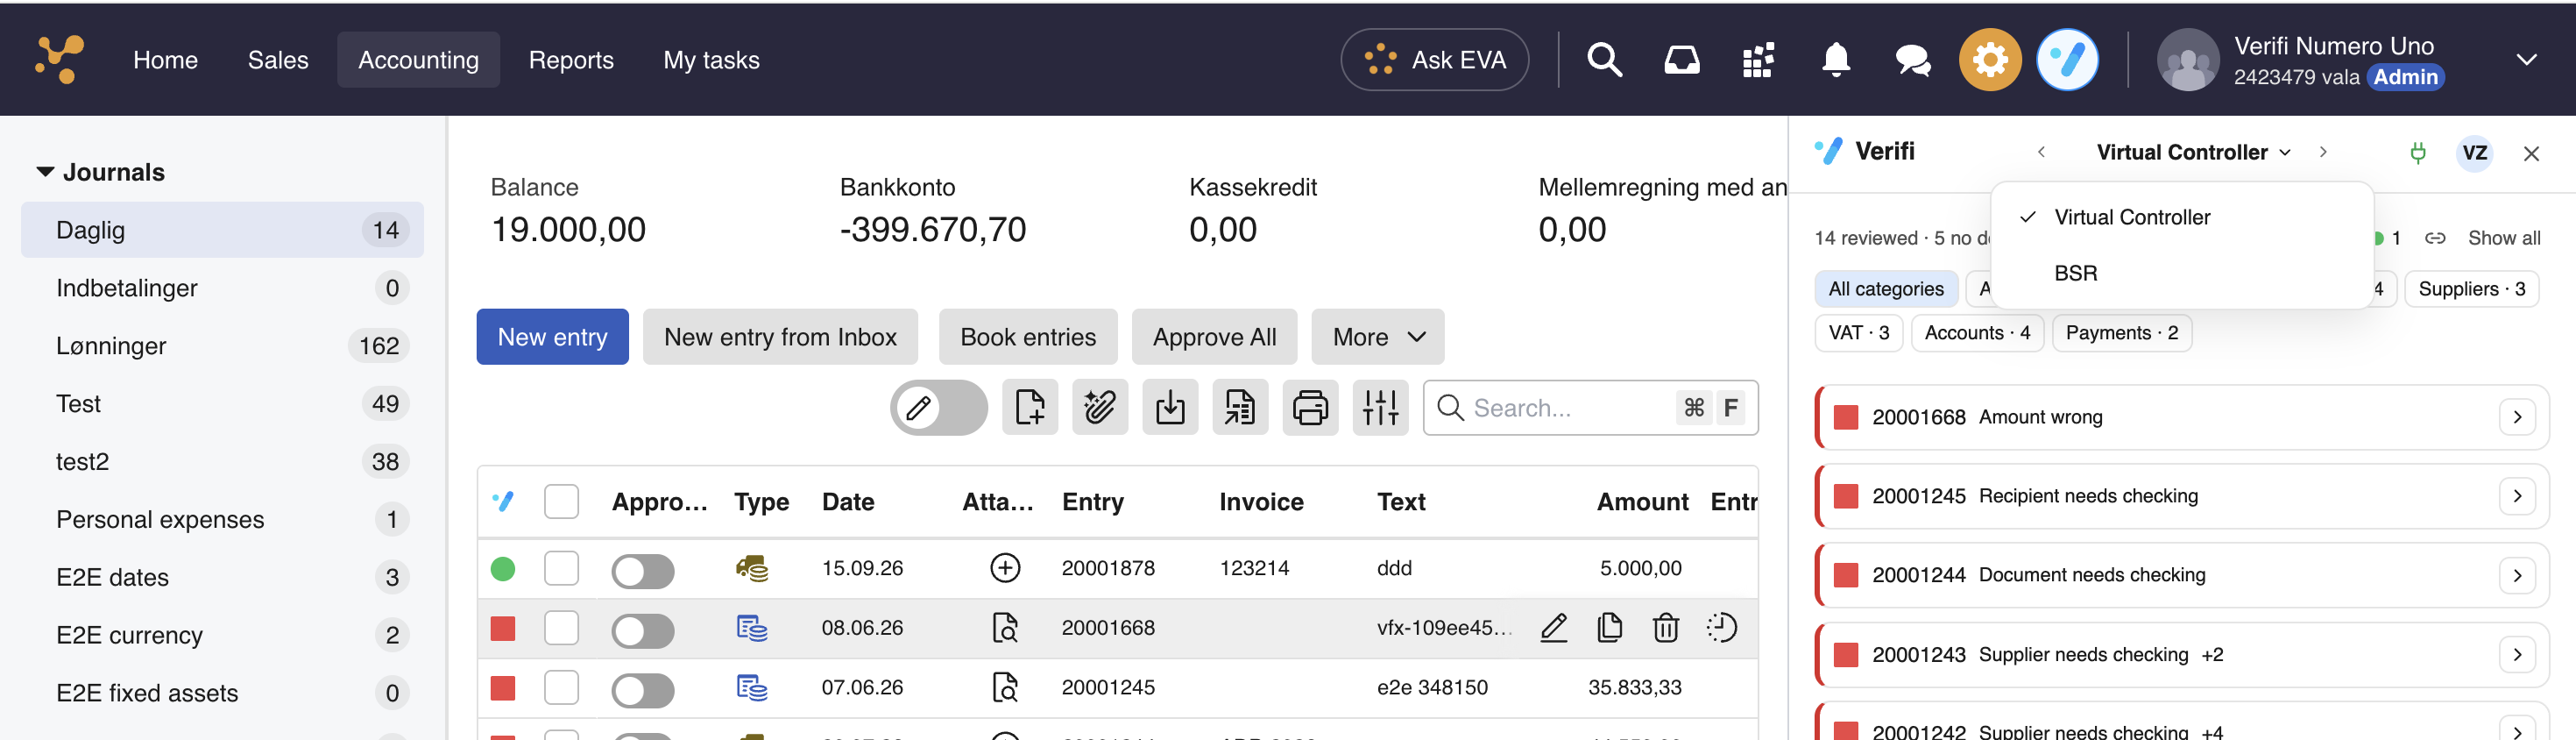
In Verifi, click on the tabs and select BSR, you will automatically be redirected to Saldobalance in e-conomic
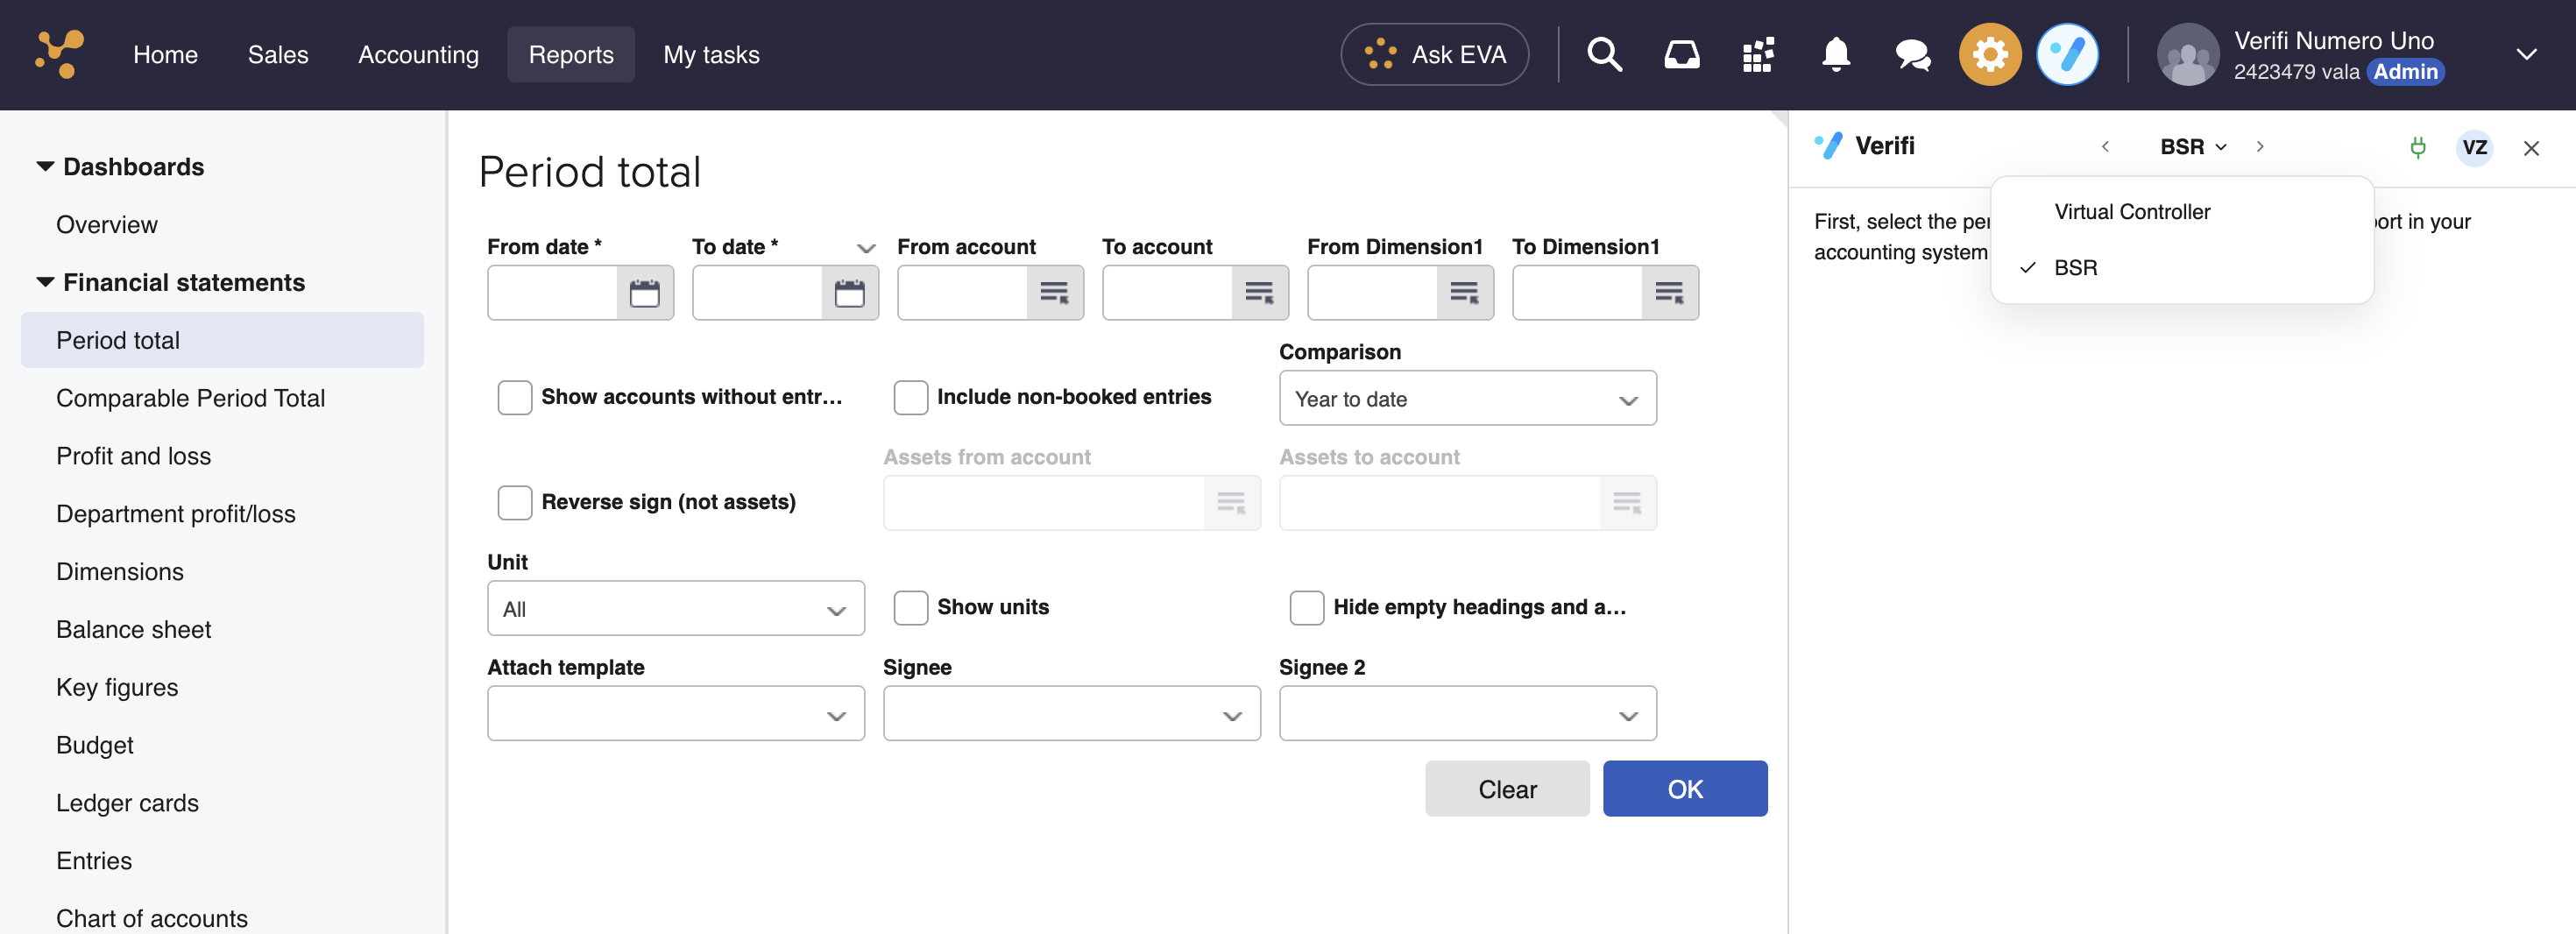
Choose the financial year and period inside of e-conomic
Wait for the period totals to load
Do you have anything you want to reconcile against the period? If yes, add those documents to the Verifi sidebar before running the report. Examples of documents you can add include:
Salary slips and payroll reports
Tax statements and SKAT confirmations
Bank statements and loan statements
Sub-ledger schedules and exports
Any PDF, image, or spreadsheet supporting the balance
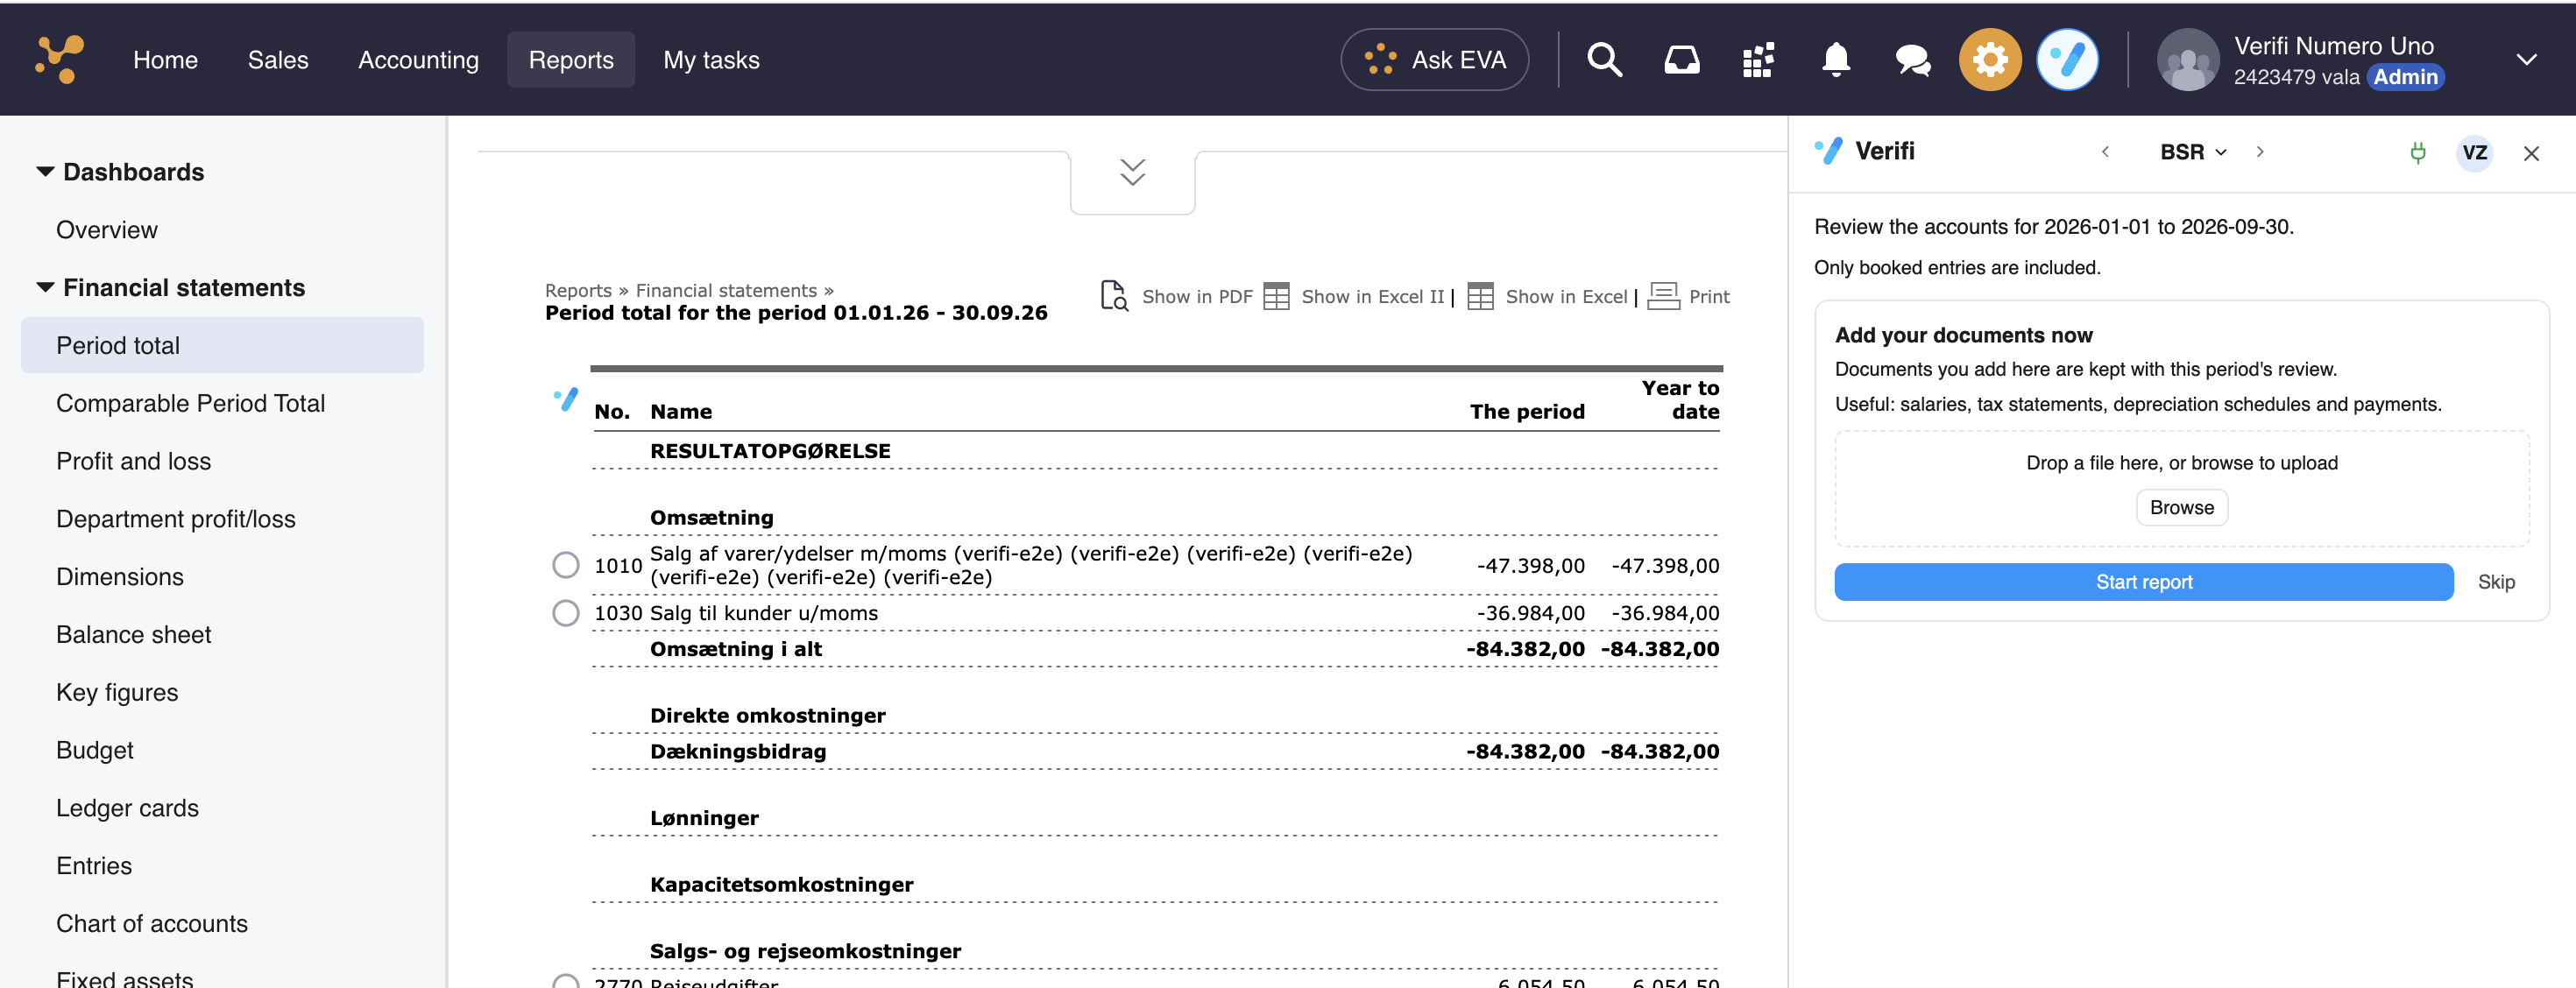
Processing takes about 5 minutes. You can keep working in e-conomic while it runs — Verifi will update the sidebar when results are ready.
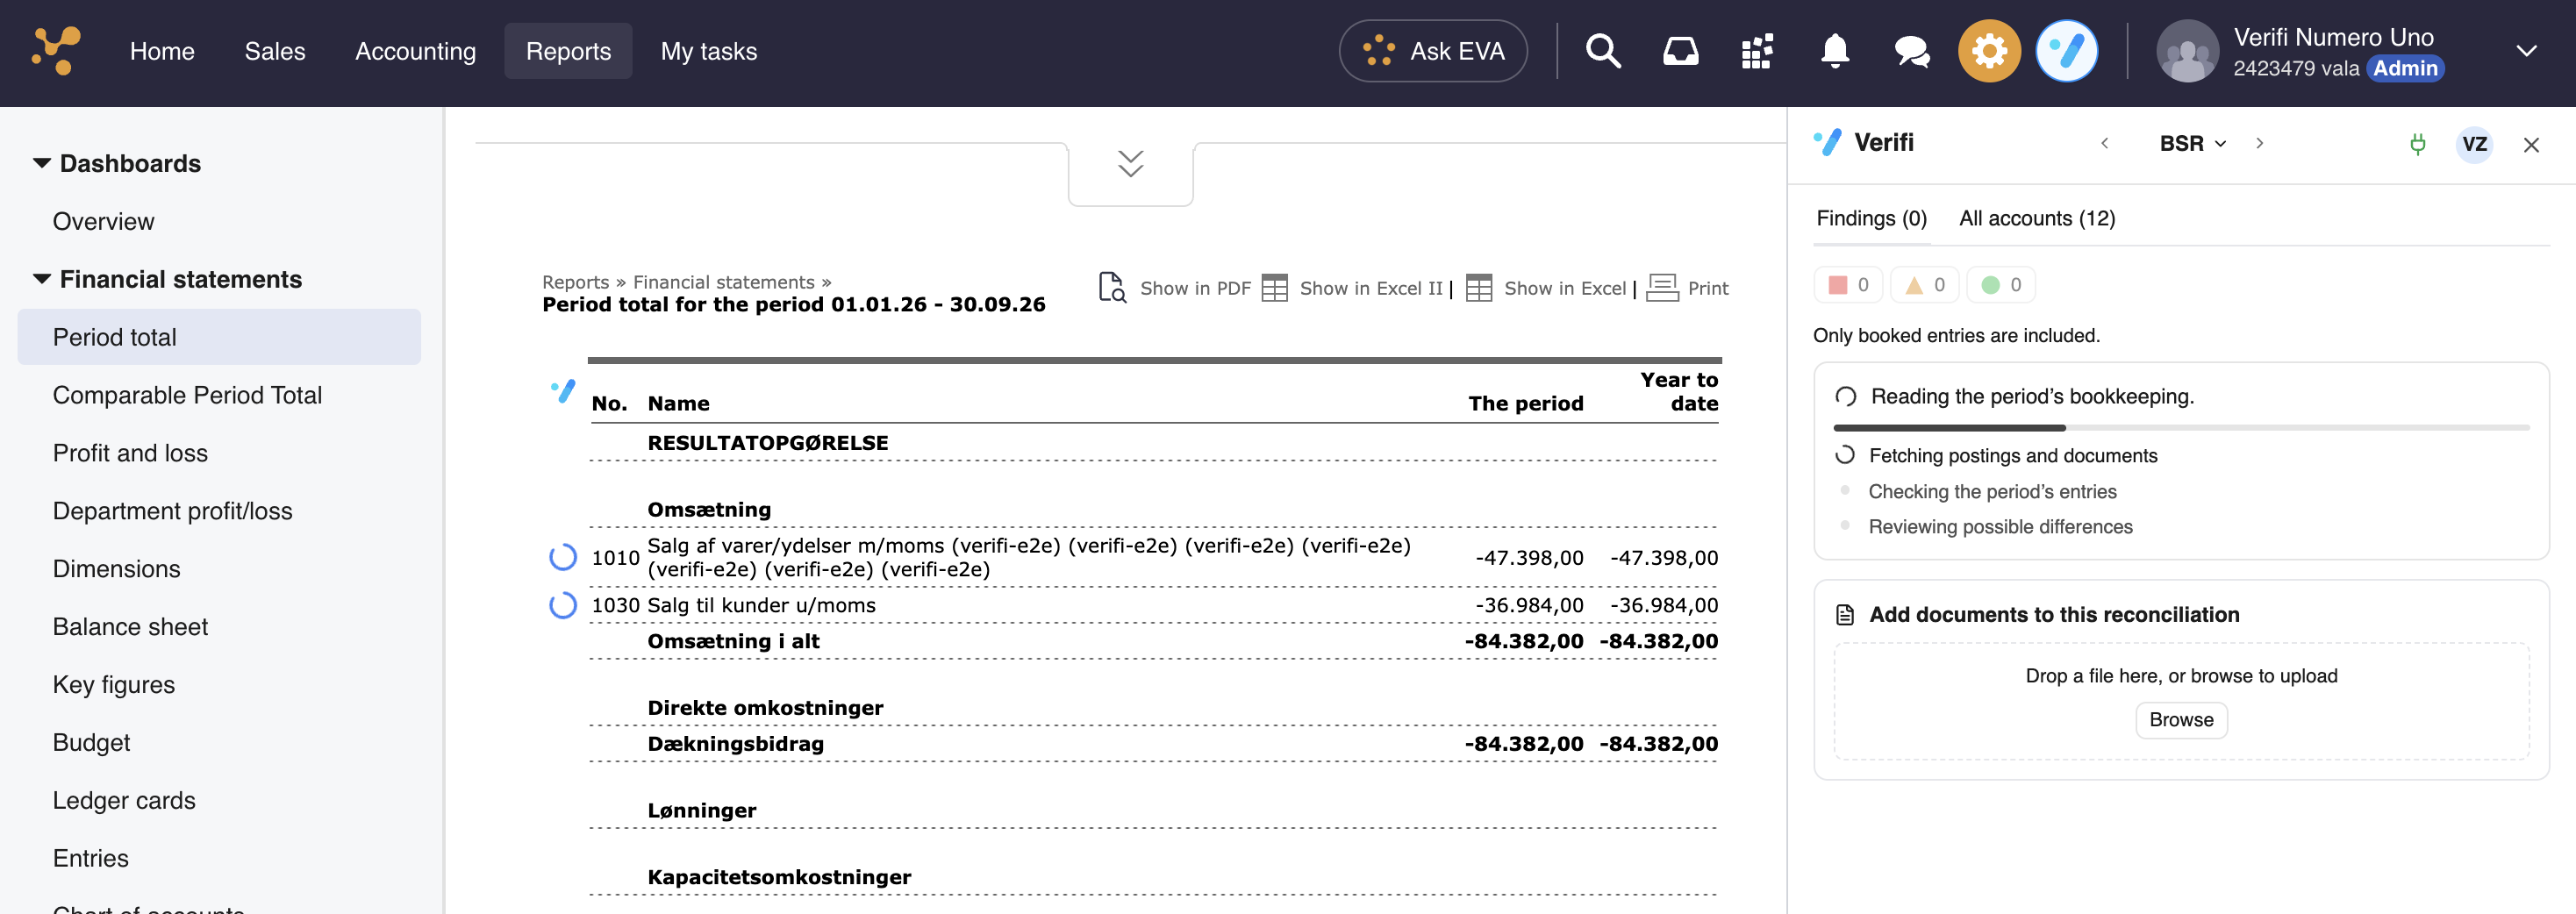
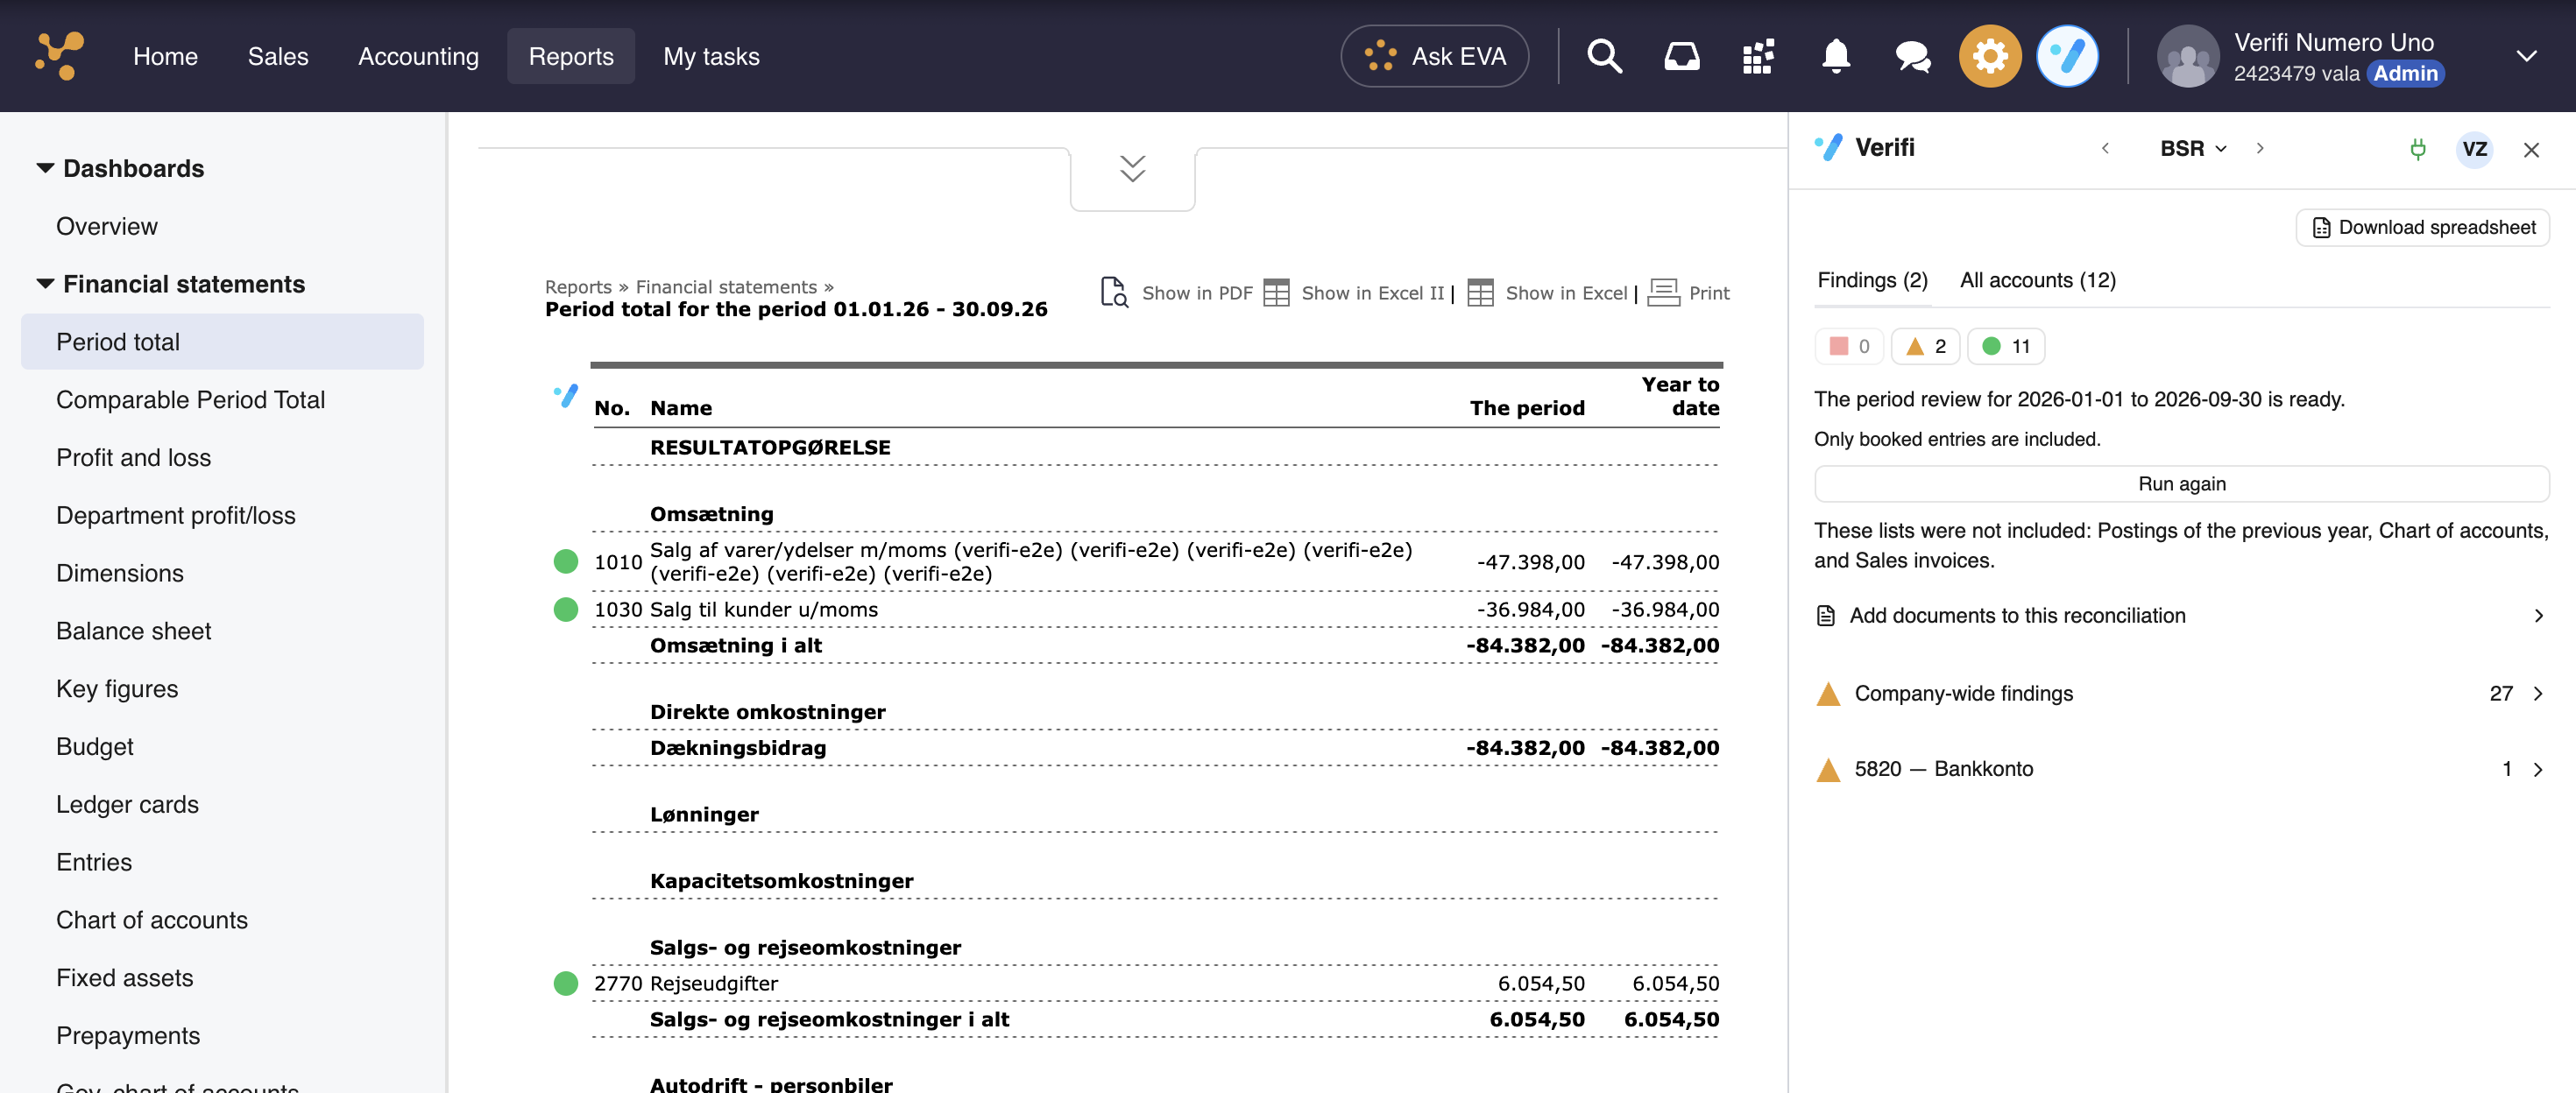
Once the reconciliation completes, findings are grouped by account and ranked by severity:
🔴 Red — material discrepancies that require attention before close
🟠 Orange — items to review but unlikely to be material
🟢 Green — accounts that tie out cleanly
You can add notes and reminders to accounts to give Verifi context for future reconciliations. This helps Verifi understand recurring patterns specific to the agreement, so it doesn't flag expected movements as errors.
For example: if a company typically pays bonuses in June, you can add a note on the relevant salary or wage account. The next time Verifi sees a spike in June, it will recognise it as expected behaviour rather than flagging it as an anomaly.
Other useful notes include:
Quarterly VAT settlements
Annual insurance or licence renewals
Holiday pay accruals
Recurring intercompany transfers
Seasonal stock build-ups
Notes stay with the account and carry over between periods, so the reconciliation gets smarter the more you use it.
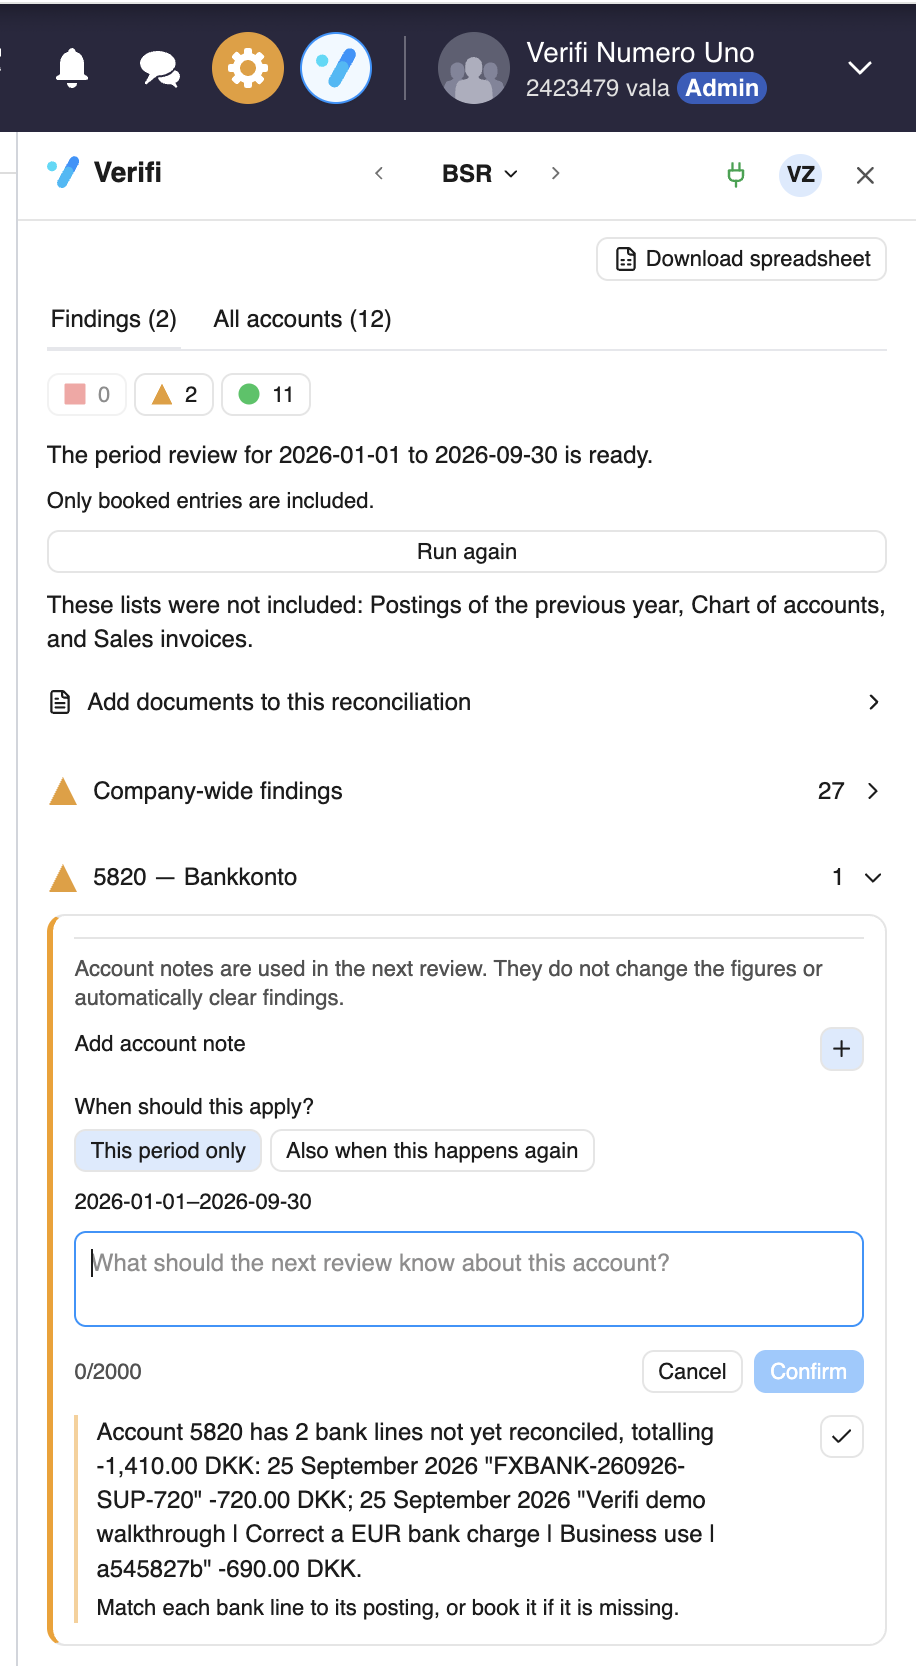
For each flagged account, you can:
Add a comment to document your reasoning or note items for review
Re-run the check on a single account after making corrections
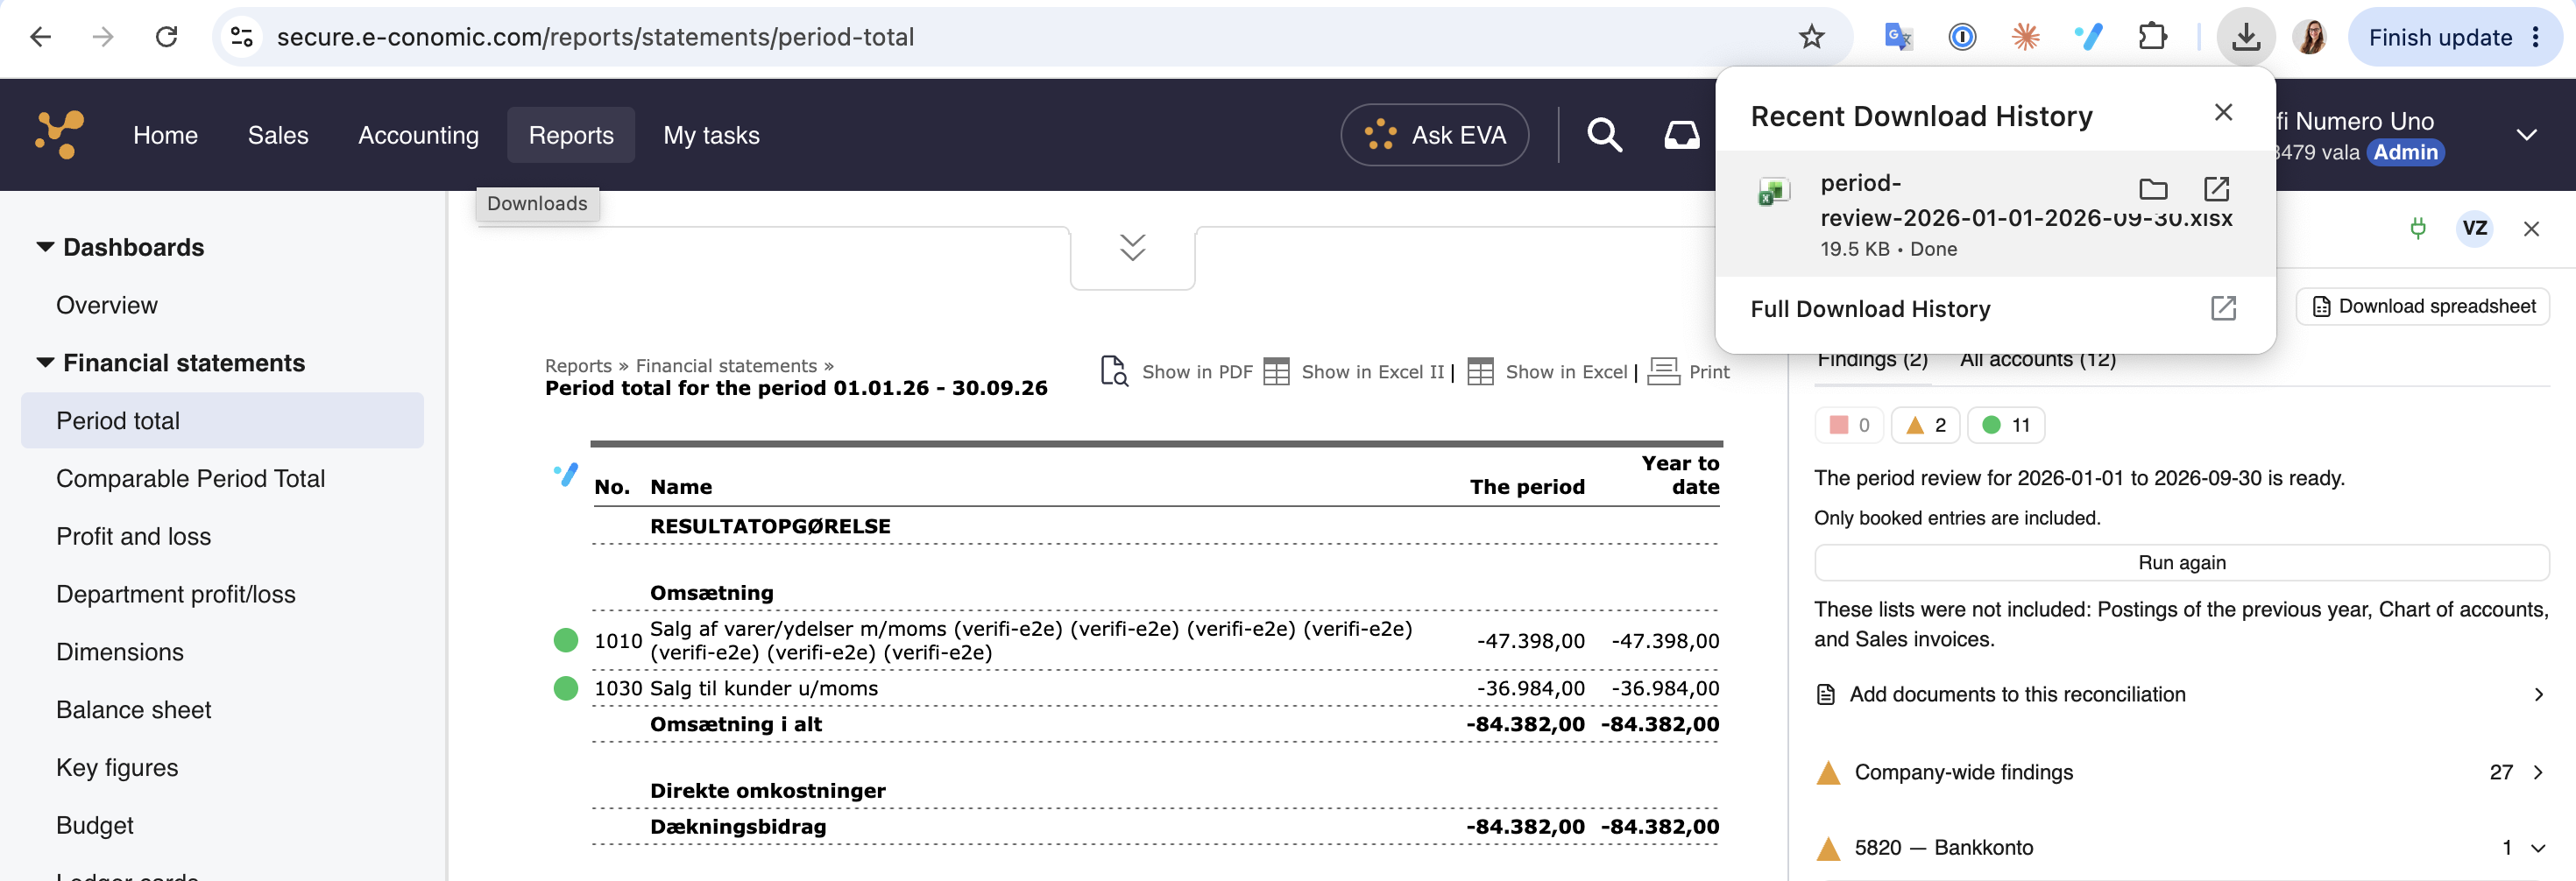
When you're done, click Download Spreadsheet to download a full reconciliation report including all findings, attached documents, comments, and resolutions. This is your audit trail for the period.
You've now completed a Balance Sheet Reconciliation in Verifi and have a documented record of the work!
